Integrate Beyond Identity Passwordless Authentication with Firebase Authentication
This guide provides information on how to set up Beyond Identity as a passwordless authentication provider for an application that uses Firebase.
This guide will cover:
- How to configure Beyond Identity as an Identity Provider
- How to create an identity and generate a passkey
- How to authenticate with a passkey
- How to configure the OpenID Connect plugin
Prerequisites
- Set up a developer account
Firebase
- Authenticate Using OpenID Connect on Android
- Authenticate Using OpenID Connect on Apple platforms
- Authenticate Using OpenID Connect in web apps.
Install the SDKs
Install the Firebase Authentication SDK
In order to authenticate with Beyond Identity with Firebase Authentication, we need to use the custom OpenID Connect provider, which is supported on iOS+, Android, and Web. Please see the appropriate Get Started documentation (iOS+, Android, Web) for instructions on how to install the Firebase Authentication SDK.
Install the Beyond Identity SDK
In order to use Beyond Identity functionality in your application, you will need to install the Beyond Identity SDK. The Android SDK, the Swift SDK, and the JavaScript SDK provides functionality from passkey creation to passwordless authentication. A set of functions are provided to you through an Embedded namespace.
Initialize the Beyond Identity SDK
Once you've installed the SDK, initialize it so that you can call the Embedded functions.
- Android
- iOS
- Web
import com.beyondidentity.embedded.sdk.EmbeddedSdk

EmbeddedSdk.init(
    app: Application,
    keyguardPrompt: (((allow: Boolean, exception: Exception?) -> Unit) -> Unit)?,
    logger: (String) -> Unit,
    biometricAskPrompt: String, /* Optional */
    allowedDomains: List<String>?, /* Optional */
)
import BeyondIdentityEmbedded

Embedded.initialize(
    allowedDomains: [String] = ["beyondidentity.com"],
    biometricAskPrompt: String,
    logger: ((OSLogType, String) -> Void)? = nil,
    callback: @escaping(Result<Void, BISDKError>) -> Void
)
import { Embedded } from '@beyondidentity/bi-sdk-js';

const embedded = await Embedded.initialize();
Set up Beyond Identity as an Identity Provider
To set up Beyond Identity as an Identity Provider, you need to create a Realm to hold identities and configuration. Inside that realm, you'll need to create an Application that contains the authentication flow configuration. These can be configured in you admin console that was created for you when you signed up for a developer account.
Create a Realm
From the admin console, click the realm drop-down, and click Create new realm.
Create an Application
From the admin console, click Apps, then click Add app.
There is a lot to configure when creating an application. When creating your application make sure:
- Redirect URIs contains your application's App Scheme or Universal URL
- Configuration Type (in the Authenticator Config tab) is set to
Embedded SDK - Invoke URL (in the Authenticator Config tab) contains your application's App Scheme or Universal URL
- Invocation Type (in the Authenticator Config tab) is set to
Automatic.
For help choosing options, visit the following guides:
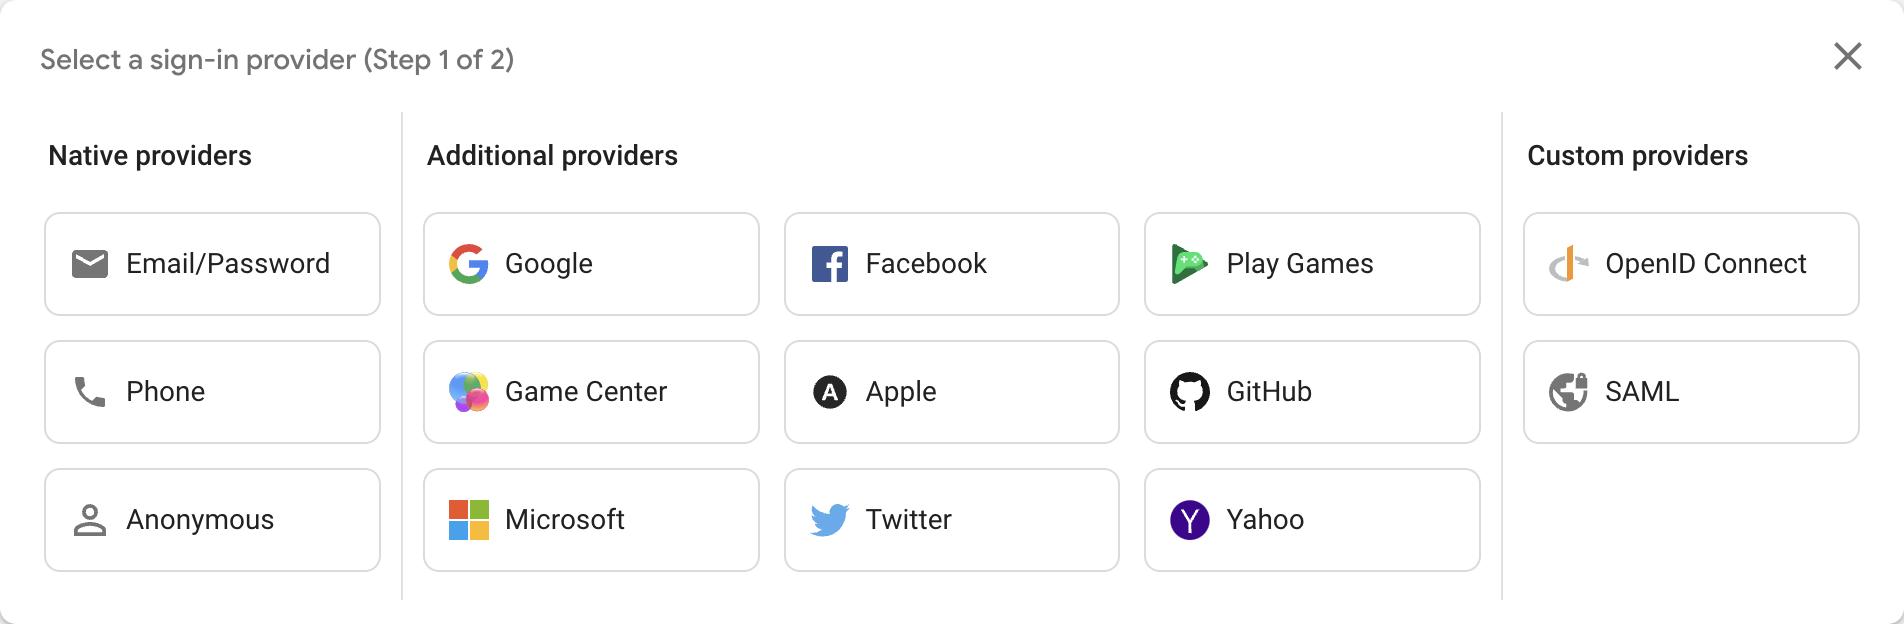
Configure Custom OpenID Connect Provider
Now that we have created our application, we are ready to configure our custom OpenID Connect provider in the Firebase console.
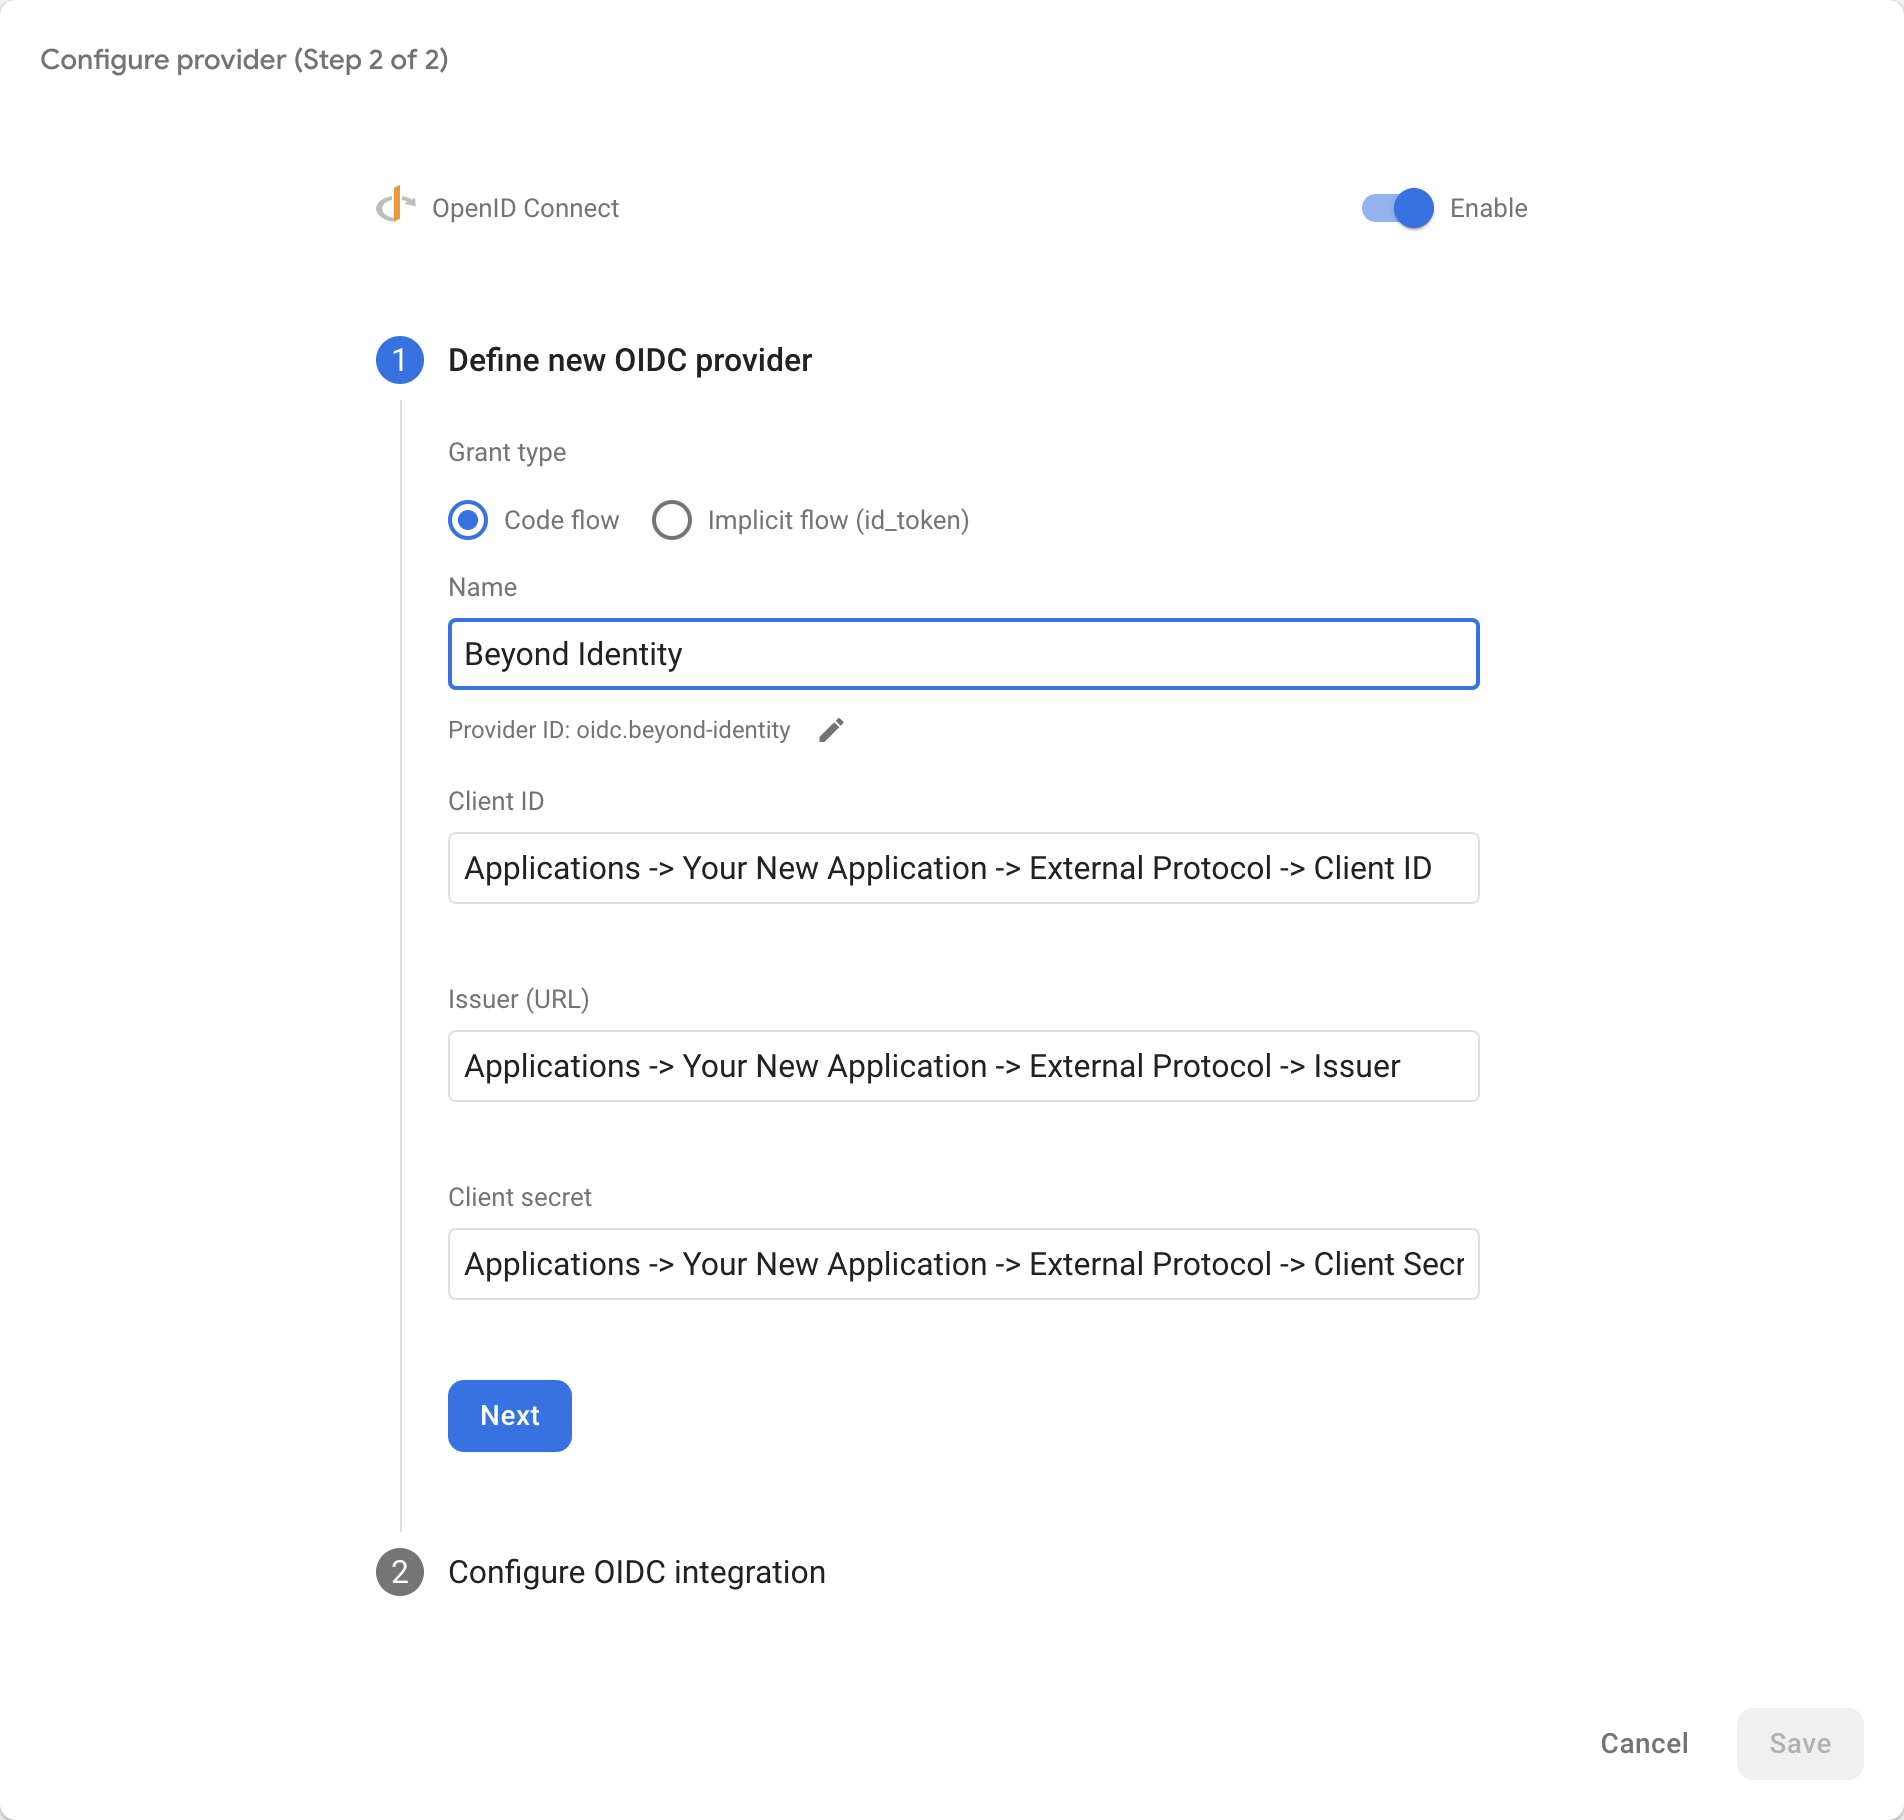
- For Name, use Beyond Identity
- For Client ID, copy and paste the value from Applications -> Your New Application -> External Protocol -> Client ID
- For Issuer (URL), copy and paste the value from Applications -> Your New Application -> External Protocol -> Issuer
- For Client Secret, copy and paste the value from Applications -> Your New Application -> External Protocol -> Client Secret
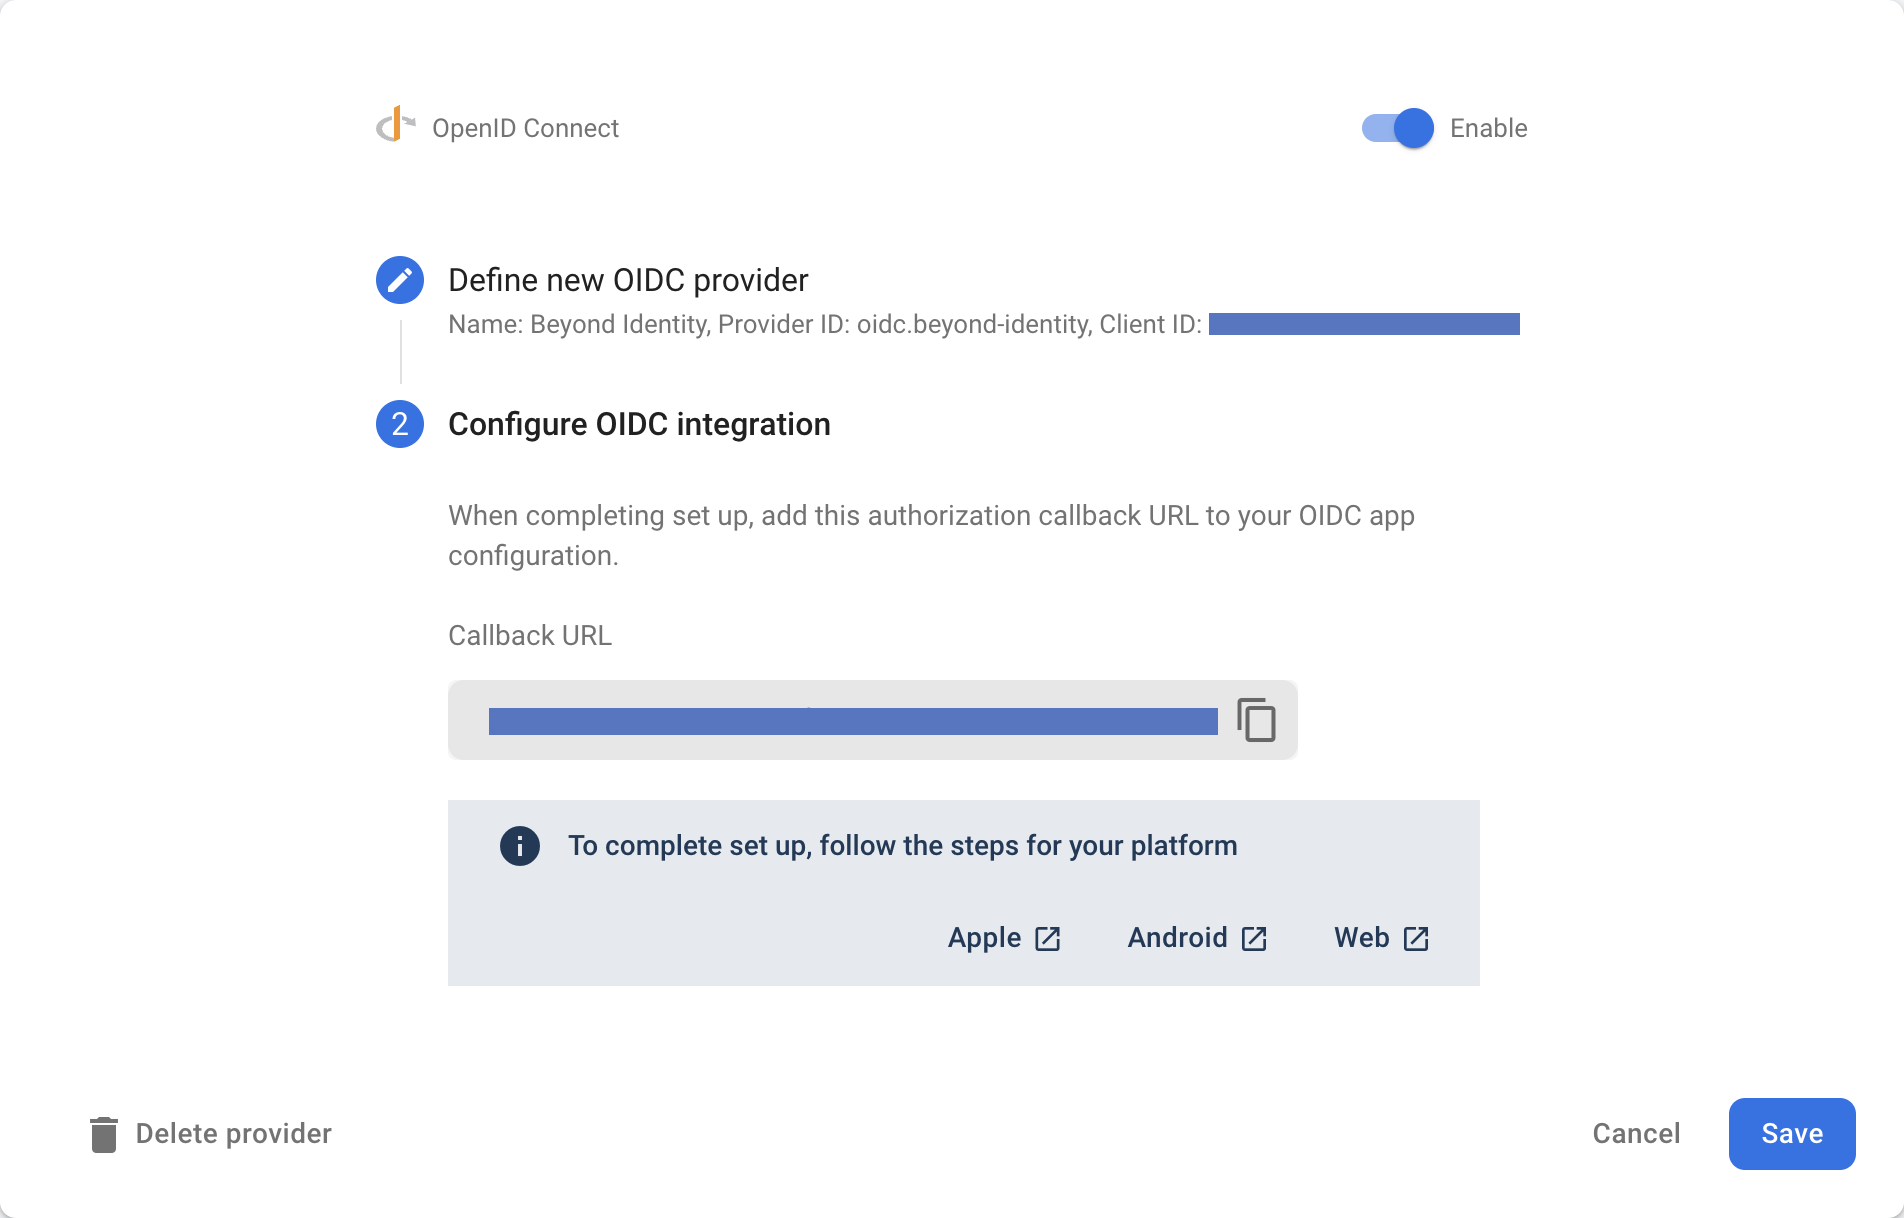
To complete set up, follow the steps for your platform
Create an Identity and generate a Universal Passkey
Once you have an application in the admin console you are ready to provision users in your realm's directory, generate passkeys, and handle those passkeys in your application.
Create an Identity
Creating a user can be done either in the admin console or through an API. This guide will use the admin console. Navigate to your realm in the console and click Identities, then click Add identity.
For more information visit Workflows: User and Group Provisioning.
Generate a passkey
Once you have an identity, you are ready to generate a passkey for this user. This step can also be done either in the admin console or through an API. This guide will use the admin console. Navigate back to Identities and select the identity you would like to bind to a passkey. Click Add a passkey, select your app and the click Proceed & send email. The user will receive an enrollment email which they can tap on to bind a passkey to their device.
Note that whichever browser or device that the user taps on the enrollment email will be the device/browser where the user can log into your Drupal site. If the user wishes to login from a different browser or device you will need to send the user another email to bind that new browser/device. Also note that private/incognito browsers act as a different browser in this case. Users can bind multiple devices and browsers.
For more information visit Workflows: Bind Passkey To User.
Configure Application
Bind passkey to device
Once the user taps on the enrollment email, they will be redirected to your application. Intercept the link from the enrollment email. The link that is redirected to your application will take on the following form. A /bind path will be appended to your Invoke URL (configured in your application above) as well as several other query parameters.
$invoke_url/bind?api_base_url=<api_base_url>&tenant_id=<tenant_id>&realm_id=<realm_id>&identity_id=<identity_id>&job_id=<job_id>&token=<token>
Once you receive the incoming URL, pass it into the Beyond Identity SDK to complete the binding process. You can validate the incoming URL with isBindPasskeyUrl. Upon success, a private key will have been created in the device's hardware trust module and the corresponding public key will have been sent to the Beyond Identity Cloud. At this point the user has a passkey enrolled on this device.
- Android
- iOS
- Web
import com.beyondidentity.embedded.sdk.EmbeddedSdk
import kotlinx.coroutines.flow.onEach
import timber.log.Timber

EmbeddedSdk.bindPasskey(url = bindingLink)
.onEach { result ->
    result.onSuccess { success ->
        Timber.d("Bind Passkey success = $success")
    }
    result.onFailure { failure ->
        Timber.e("Bind Passkey failure = $failure")
    }
}
import BeyondIdentityEmbedded

Embedded.shared.bindPasskey(url: bindingLink) { result in
    switch result {
    case let .success(bindResponse):
        print(bindResponse)
    case let .failure(error):
        print(error.localizedDescription)
    }
}
import { Embedded } from '@beyondidentity/bi-sdk-js'

const bindResponse = await embedded.bindPasskey(bindingLink);
console.log(bindResponse);
Authenticate
The authenticate url that is redirected to your application will append a /bi-authenticate path to your Invoke URL:
$invoke_url/bi-authenticate?request=<request>
Once you receive the authenticate URL, pass it into the SDK to complete the authentication process. You can validate the incoming URL with isAuthenticateUrl.
- Android
- iOS
- Web
import android.content.Context
import android.content.Intent
import android.net.Uri
import androidx.browser.customtabs.CustomTabsIntent
import com.beyondidentity.embedded.sdk.EmbeddedSdk
import com.google.firebase.auth.ktx.auth
import com.google.firebase.auth.ktx.oAuthCredential
import com.google.firebase.ktx.Firebase

private fun launchBI(context: Context, url: Uri = AUTH_URL) {
    CustomTabsIntent.Builder().build().launchUrl(context, url)
}

private fun handleIntent(context: Context, intent: Intent?) {
    selectPasskeyId { selectedPasskeyId ->
        intent?.data?.let { uri ->
            when {
                EmbeddedSdk.isAuthenticateUrl(uri.toString()) -> {
                    EmbeddedSdk.authenticate(
                        url = uri.toString(),
                        passkeyId = selectedPasskeyId,
                    ) { result ->
                        result.onSuccess { authenticateResponse ->
                            authenticateResponse.redirectUrl?.let { redirectUrl ->
                                // This URL contains authorization code and state parameters
                                // Exchange the authorization code for an id_token using Beyond Identity's token endpoint.
                                var code = parseCode(redirectUrl)
                                var token = exchangeForToken(code)

                                val providerId = "oidc.beyond-identity" // As registered in Firebase console.
                                val credential = oAuthCredential(providerId) {
                                    setIdToken(token) // ID token from OpenID Connect flow.
                                }
                                Firebase.auth
                                    .signInWithCredential(credential)
                                    .addOnSuccessListener { authResult ->
                                        // User is signed in.
                                    }
                                    .addOnFailureListener { e ->
                                        // Handle failure.
                                    }
                            }
                        }
                    }
                }
            }
        }
    }
}

private fun selectPasskeyId(callback: (String) -> Unit) {
    // Where you can perform some logic here to select a passkey, or
    // present UI to a user to enable them to select a passkey.
}
import AuthenticationServices
import BeyondIdentityEmbedded
import FirebaseAuth

let session = ASWebAuthenticationSession(
    url: viewModel.authorizationURL,
    callbackURLScheme: viewModel.callbackScheme
){ (url, error) in
    guard Embedded.shared.isAuthenticateUrl(url) else {
        print("url is not valid")
        return
    }
    presentPasskeySelection { selectedPasskeyId in
        Embedded.shared.authenticate(
            url: url,
            id: selectedPasskeyId
        ) { result in
            switch result {
            case let .success(response):
                // This URL contains authorization code and state parameters
                // Exchange the authorization code for an id_token using Beyond Identity's token endpoint.
                let code = parseCode(from: response.redirectURL)
                let token = exchangeForToken(code)

                let credential = OAuthProvider.credential(
                    withProviderID: "oidc.beyond-identity", // As registered in Firebase console.
                    idToken: token, // ID token from OpenID Connect flow.
                    rawNonce: nil
                )
                Auth.auth().signIn(with: credential) { authResult, error in
                    if error {
                        // Handle error.
                        return
                    }
                    // User is signed in.
                }
            case let .failure(error):
                print(error)
            }
        }
    }
}
session.presentationContextProvider = self
session.start()

private fun presentPasskeySelection(callback: (PasskeyID) -> Void) {
    // Where you can perform some logic here to select a passkey, or
    // present UI to a user to enable them to select a passkey.
}
import { Embedded } from '@beyondidentity/bi-sdk-js'
import { getAuth, signInWithCredential, OAuthProvider } from "firebase/auth";

selectPasskeyId(async (selectPasskeyId) => {
    if (embedded.isAuthenticateUrl(authenticateUrl)) {
        let result = await embedded.authenticate(authenticateUrl, selectPasskeyId);

        // This URL contains authorization code and state parameters
        // Exchange the authorization code for an id_token using Beyond Identity's token endpoint.
        var code = parseCode(result.redirectUrl)
        var token = exchangeForToken(code)

        const provider = new OAuthProvider("oidc.beyond-identity"); // As registered in Firebase console.
        const credential = provider.credential({
            idToken: token, // ID token from OpenID Connect flow.
        });
        signInWithCredential(getAuth(), credential)
            .then((result) => {
                // User is signed in.
            })
            .catch((error) => {
                // Handle error.
            });
    }
});

function selectPasskeyId(callback: (selectPasskeyId: string) => void) {
    // Where you can perform some logic here to select a passkey, or
    // present UI to a user to enable them to select a passkey.
}