Getting Started with Angular
In this guide, you'll configure your Beyond Identity developer account to connect to our sample application.
This application demonstrates common tasks, like creating realms, applications, and passkeys (public-private key pairs) for user authentication.
1. Set up a developer account
If you don't have a Beyond Identity developer account yet, reach out to Beyond Identity Support.
2. Clone the sample app
Before you start working in the Admin Console of your developer account, let's clone the sample app hosted on Github.
git clone https://github.com/gobeyondidentity/getting-started-angular.git
Change directory into the repo:
cd getting-started-angular
3. Set your environment variables
Region variable
Set the REGION variable according to where your account was created:
- macOS
- Windows
export REGION="us" | "eu"
set REGION="us" | "eu"
You can set environment variables individually as described in this article, or you can create a file named '.env' at the root of your project that includes all of the required variables:
# Beyond Identity variables
REGION=<"us" | "eu">
TENANT_ID=<tenant_id>
REALM_ID=<realm-id>
API_TOKEN=<api_token>
APPLICATION_ID=<application-id>
AUTH_CONFIG_ID=<authenticator-config-id>
APP_CLIENT_ID=<app-client-id>
APP_CLIENT_SECRET=<app-client-secret>
Tenant ID variable
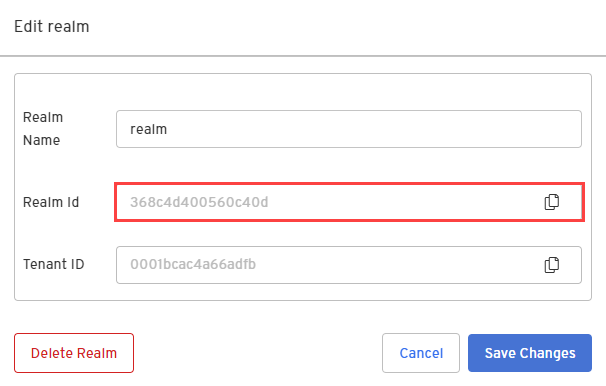
- In the Admin Console, from the new realm's home page, click Edit realm.
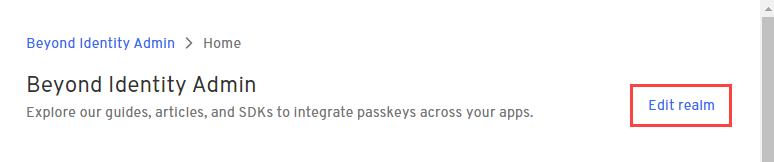
- Copy the Tenant_ID value and run the following command, which configures the
TENANT_IDvariable.
- macOS
- Windows
export TENANT_ID=<tenant_id>
set TENANT_ID=<tenant_id>
API token variable
In this step, you'll continue to work in the Admin Console to create an API token for your tenant.
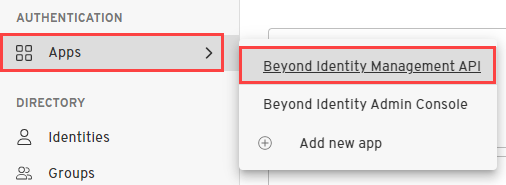
- In the Admin Console, switch to the Beyond Identity Admin realm by selecting Go to realm > Beyond Identity Admin.

- Select Apps > Beyond Identity Management API.
-
Select the API Tokens tab and click Create a token.
-
Enter a name for the token and click Create token.
-
In the confirmation message, copy the API token and click Close this message.
You must copy the API token because after you close the confirmation message, the full token will not be displayed again. You'll only have access to the token suffix.
- Run the following command, which sets set the
API_TOKENvariable.
- macOS
- Windows
export API_TOKEN=<api_token>
set API_TOKEN=<api_token>
Guess what? You're halfway there! So far in your getting started journey, you should have completed the following:
-
Signed up for a free Beyond Identity developer account, which created a passkey, tenant, and Admin Realm for you automatically.
-
Cloned the example application.
-
Set your Region, Tenant ID, and API token variables.
In the next step, you'll set the following variables:
- Realm ID
- Application ID
- Client ID
- Client Secret
- Authenticator Config ID
Don't forget, if you get stuck, let us know in our Slack community.
4. Configure Beyond Identity
In this step, you'll create a set of Beyond Identity resources containing your end users' identities and the configuration. First, you'll create a new realm, which holds your users' identities. Next, you'll create a new application that contains the configuration for your users.
Create a new realm
So far, you have the Admin Realm for your Beyond Identity tenant only. In this step, you'll create a new Realm to hold your users' identities.
You can skip straight to Step 4 below, as we've already created My First Realm for you. But if you want to go through the steps of creating a new realm yourself, follow Steps 1 - 3 below.
Creating a realm from the Beyond Identity Admin Console is easy.
- In the Admin Console, under Tenant Management, select Go to realm > Create new realm.
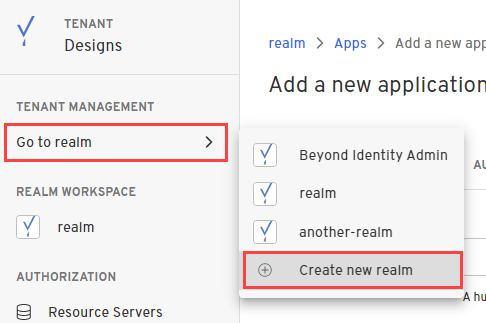
-
Enter a name for your realm and click Create realm.
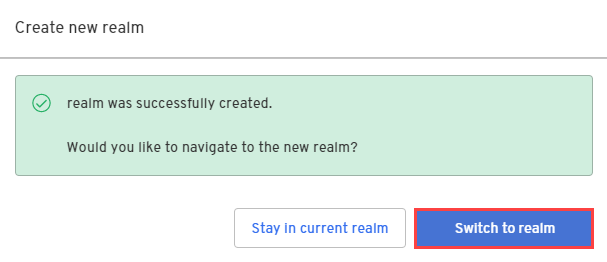
-
In the confirmation dialog, switch to the new realm.
- Copy the Realm Id value and run the following command, which sets the
REALM_IDvariable.
- macOS
- Windows
export REALM_ID=<realm-id>
set REALM_ID=<realm-id>
Create an application
In this step, you'll create a new Application that will contain the configuration for your authentication.
You will need to create a new Application. My First Application has been configured specifically for the Getting Started with NextJS guide which uses our Hosted Web Authenticator.
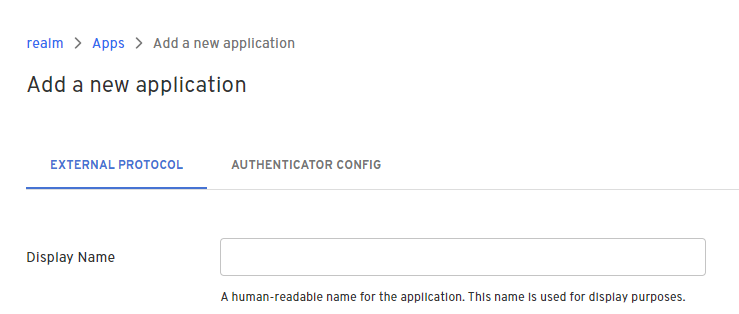
- From the Admin Console, under Authentication, select Apps > Add new app.

- Give your application a name.
- Scroll down to the Redirect URIs field and enter the API callback localhost URL.
http://localhost:8082/auth/callback
OIDC auth callbacks are handled on port 8082 where the backend is served.
-
Ensure that Client Secret Basic, under the Redirect URIs, is selected for the Token Endpoint Auth Method.
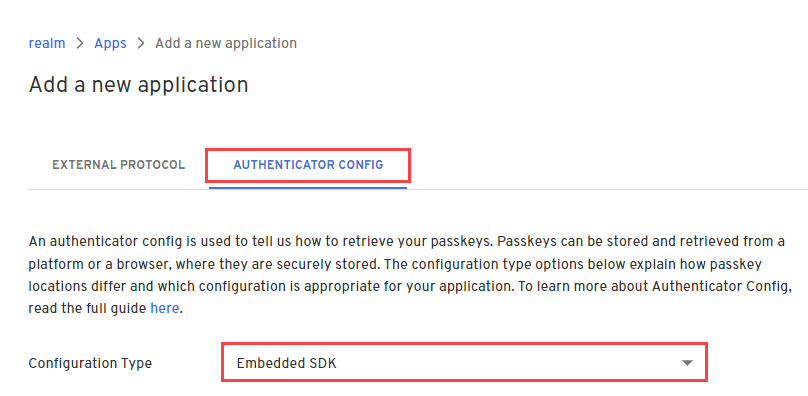
-
Select the Authenticator Config tab and select Embedded SDK for the Configuration Type.
Selecting Embedded SDK means that your app will host the authentication and provide the experience for users to create, select and use passkeys.
- Scroll down and set the Invoke URL to the following localhost and port. Angular handles routing on the backend using port 8082.
The Invoke URL is a single URL that "points" to where your application is: an App Scheme or a Universal URL/App Link.
http://localhost:8082
- Scroll down and set the Trusted Origins to the following localhost and port. API requests from the SDK are made from the frontend, so we need to specify port 8083 since that is the port where the frontend is served on.
The Trusted Origins whitelists it and allows request to be made to our server. By default, our server blocks cross-origin requests (COR).
http://localhost:8083
- Click Submit to save the changes. You're taken to the Apps page in the console automatically.
Complete the configuration
In this step, you'll complete the application's configuration by setting a few more variables. You'll add the Application ID, Client ID, Client Secret, and Authenticator Config ID.
-
From the Apps page in the console, select the new application you created.
-
Copy the Application ID, which can be found under the application name.
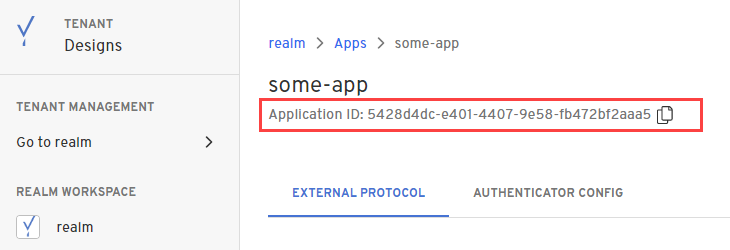
- Run the following command, which sets the
APPLICATION_IDvariable.
- macOS
- Windows
export APPLICATION_ID=<application-id>
set APPLICATION_ID=<application-id>
- Scroll down to the Client Configuration section and copy the Client ID. Then run the following command, which sets the
CLIENT_IDvariable.
- macOS
- Windows
export APP_CLIENT_ID=<app-client-id>
set APP_CLIENT_ID=<app-client-id>
- Copy the Client Secret. Then run the following command, which sets the
APP_CLIENT_SECRETvariable.
- macOS
- Windows
export APP_CLIENT_SECRET=<app-client-secret>
set APP_CLIENT_SECRET=<app-client-secret>
- Select the Authenticator Config tab and copy the Authenticator Config ID.
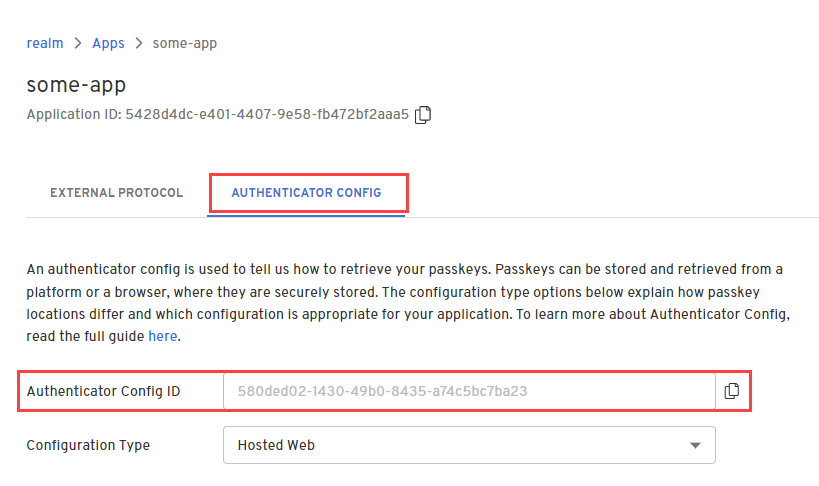
- Run the following command, which sets the
AUTH_CONFIG_IDvariable.
- macOS
- Windows
export AUTH_CONFIG_ID=<authenticator-config-id>
set AUTH_CONFIG_ID=<authenticator-config-id>
Learn more about the Authenticator Config.
5. Run the example application
In this step, you'll install the dependecies and start the backend and frontend to run the example app locally.
- Install the dependencies.
yarn install
- Build your application.
yarn start
Open a web browser and navigate to http://localhost:8083. The example application will now appear and allow you to create passkeys in the browser.
You can also see this example in action by visiting: https://acme.beyondidentity.com/